
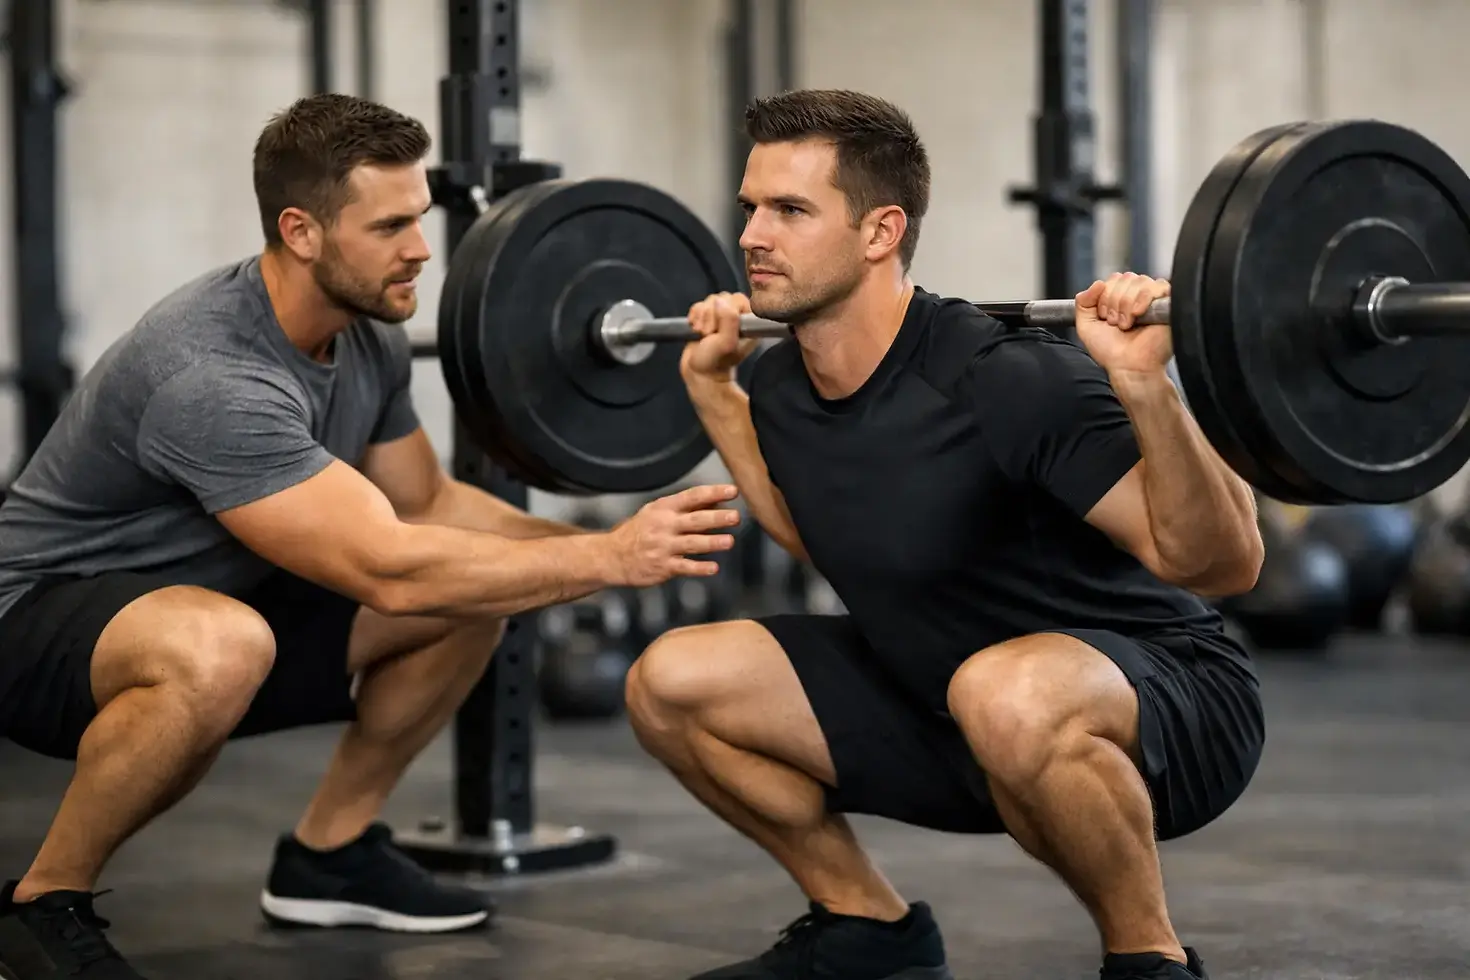
How to Improve Squat Mechanics for Stronger Lifts
A squat that feels unstable, pinchy, or disproportionately exhausting is rarely fixed by simply trying harder. Better reps come from identifying where your body loses position, then building the mobility, control, and strength to own that position under load. If you want to know how to improve squat mechanics, start by treating the squat as a coordinated movement, not a test of how low you can go.
A strong squat should feel organized. Your feet stay connected to the floor, your knees track with control, your torso remains braced, and you can stand up without shifting, twisting, or collapsing. The exact shape will differ between individuals. Limb lengths, hip anatomy, training goals, and injury history all matter. The goal is not to copy someone else's squat. It is to build the most efficient version of yours.
Start With a Repeatable Setup
Good mechanics begin before the descent. Set your feet at roughly shoulder width, then adjust based on what lets your hips move freely while your feet remain stable. Many people need a slightly wider stance and a modest toe turnout. Others feel strongest with feet closer to parallel. Use the stance that allows your knees to travel in line with your toes without your arches collapsing.
Create a stable foot by maintaining contact at three points: the heel, the base of the big toe, and the base of the little toe. Think of this as a tripod, not as gripping the floor with your toes. Excess toe gripping can make the ankles and calves tense, limiting your ability to move smoothly into depth.
Before you descend, take a breath low into your trunk and create 360-degree tension around your midsection. Your rib cage and pelvis do not need to be perfectly stacked in a rigid posture, but they should work together. A loose brace often shows up as an exaggerated low-back arch, rib flare, or a sudden torso collapse at the bottom of the squat.
Use the Descent to Find Your Positions
The descent is where most squat errors begin. Instead of dropping straight down or forcing an aggressive hip hinge, allow your hips and knees to bend together. Your knees can and often should move forward. Forward knee travel is a normal part of a squat, particularly when the goal is upright positioning, quad strength, or better carryover to stairs, hiking, and everyday movement.
Send your knees in the same direction as your toes while keeping pressure distributed across the whole foot. Do not force your knees outward beyond their natural path. The popular cue to "push the knees out" can help someone whose knees collapse inward, but overdoing it can shift pressure to the outside of the feet and restrict depth.
Lower only as far as you can maintain control. For some lifters, that is below parallel with an upright torso. For others, hip structure, ankle range, or current training tolerance may make a parallel squat the better starting point. Depth is useful when you can own it. Depth achieved by rounding the lower back, losing foot pressure, or shifting to one side is not productive depth.
Watch for the Bottom-Position Compensations
A few patterns provide useful clues:
Heels lifting often points to limited ankle dorsiflexion, poor foot pressure, or a stance that is too narrow for the individual.
Knees caving sharply inward may reflect weak hip control, an unstable foot, or a load that exceeds current capacity.
A pronounced pelvic tuck at the bottom can come from limited hip motion, a loss of brace, or simply forcing depth beyond what the body can currently control.
A forward collapse of the chest may indicate insufficient upper-back strength, bracing skill, ankle restriction, or a bar position that does not match the lifter.
These are not diagnoses. They are starting points for assessment. A skilled coach looks at the whole pattern rather than assigning every issue to one tight muscle or one weak body part.
Build Mobility That Transfers to the Squat
Mobility work is most useful when it addresses a specific limitation and is followed by practice. Stretching your hips for ten minutes will not automatically improve a squat if the real issue is poor bracing or a stance that does not fit your structure.
For many adults, ankle mobility is a high-value place to start. Limited ankle dorsiflexion can pull the heels up, push the torso forward, or make the squat feel blocked at the bottom. Controlled knee-to-wall ankle rocks, calf raises performed through a full range, and split squats that allow the front knee to travel forward can improve both range and control.
Hip mobility is more individual. If the front of the hip pinches at depth, experiment with stance width and toe angle before forcing a stretch. A slightly wider stance may create more room for the hips to move. Controlled adductor rock-backs, supported deep squat holds, and split squats can help, provided they are comfortable and performed with an organized trunk.
Thoracic mobility can matter for front squats and high-bar squats, where an upright torso is required. Still, do not confuse an upper-back weakness with a mobility restriction. Rows, carries, and pauses in the squat can be more useful than endless foam rolling when the issue is maintaining posture under load.
Choose the Right Squat Variation
The back squat is not the only meaningful squat. In fact, it is not always the best place to begin. The right variation lets you practice the movement without reinforcing compensation.
A counterbalanced bodyweight squat, holding a light weight in front of the chest, can help you sit into a more balanced bottom position. A goblet squat teaches bracing, knee travel, and an upright torso with relatively low complexity. Box squats can be useful for learning control and building confidence, but the box should not become a target to crash into or a reason to relax at the bottom.
Front squats place more demand on the quads and upper back while encouraging a vertical torso. Safety-bar squats may be a strong option for people who have shoulder limitations or struggle to maintain position with a straight bar. Heel-elevated squats can reduce the ankle-mobility demand and allow a more upright pattern. They are a practical tool, not a shortcut or a failure of mobility.
If you are returning from injury, working around pain, or rebuilding after a long layoff, a supported split squat or leg press may be the most appropriate first step. The best progression is the one that creates training tolerance without provoking symptoms.
Improve Squat Mechanics With Tempo and Pauses
Speed can hide weak positions. A controlled tempo exposes them.
Try lowering for three seconds, pausing for one to two seconds near your deepest controlled position, then standing with intent. The pause removes momentum and makes it clear whether you can maintain foot pressure, brace, and knee tracking at depth. Use a load light enough to preserve the quality of the rep.
Another effective option is a pin squat, beginning from safety pins set at a manageable depth. This reduces the tendency to rebound out of the bottom and builds force from a static position. It also requires careful setup and should be progressed gradually, especially if you have a history of knee, hip, or back irritation.
Load Only What You Can Control
The most common mechanical mistake is adding load before the movement earns it. Your squat does not need to look identical on every rep, but the basic positions should remain recognizable as weight increases. If a heavier set causes your heels to lift, hips to shift, knees to lose their path, or torso to fold, reduce the load or range and rebuild.
Use video from the front and side when possible. One or two working sets can reveal patterns you cannot feel in real time. Look for consistency rather than perfection: even foot pressure, a controlled descent, stable knees, and a bar path that stays balanced over the midfoot.
At Tensegrity Personal Training, assessment is part of the process because mechanics are context-specific. A desk-bound professional rebuilding strength, an athlete pursuing power, and an older adult training for balance may all squat differently. Their programs should reflect that.
Know When to Get Individual Coaching
Sharp pain, persistent joint irritation, numbness, or a sudden change in strength deserves professional evaluation. Do not use squat drills to push through symptoms that worsen set to set. A qualified coach can also help when your squat is consistently uneven, when a prior injury changes your confidence, or when you have plateaued despite consistent training.
The practical target is simple: build a squat you can repeat with confidence, then gradually make it stronger. Start with the position you can control today. Patient, well-loaded practice is what gives your body more options tomorrow.


Comments